Key takeaways
- The WordPress Plugin Handbook only requires a PHP file with a Plugin Name header. Most real failures come later, from conflicts, version mismatches and code that worked locally but not on the live site.
- Give every function, option and hook a distinctive prefix, check capabilities before writing anything, and follow the handbook’s order: sanitize input, validate it, escape output.
- Log errors to wp-content/debug.log on staging rather than showing them on the page, then test the packaged ZIP against your real theme and plugins.
- Code that calls removed functions such as create_function() fails on PHP 8.0 and later, so test on the lowest PHP version you claim to support and on the version your host is moving to.
- The WordPress.org Plugins Team reviewed 12,713 plugins in 2025 and approved 69.5% of those that went through the process. There is no official average wait.
A clinic’s opening hours appear in the footer, on the contact page and on a landing page. Someone changes Friday’s hours in one place and forgets the other two. A small plugin can fix that with one saved schedule and a shortcode that shows it everywhere.
Writing that plugin is the easy part. WordPress’s Plugin Handbook says the minimum is a PHP file with a Plugin Name header. The work that takes time is everything after: making sure it does not collide with other plugins, only lets the right people change the hours, still runs after a PHP upgrade, and can be removed cleanly.
Do you need a custom plugin at all?
Often you don’t. If a maintained plugin covers most of the need, install it and extend it through its hooks rather than writing a replacement. Our guide on how to install a WordPress plugin safely covers what to check on a listing before you trust it. For new content types, such as a “Webinars” section that the marketing team fills in, CPT UI and Advanced Custom Fields usually do the job without any new code.
Build your own when the requirement really is specific to your business, such as an integration with your booking system or a pricing rule nobody else has. Before you start, decide who will keep it working. A custom plugin keeps costing time after launch, every time WordPress, PHP or WooCommerce changes. Practitioners on r/woocommerce make the same point about payment code: if one freelancer wrote it and only that freelancer understands it, the store depends on one person.
What you need before you write code
- A disposable WordPress install. Use a local environment or a staging copy of the site, never a folder on the production server.
- PHP and some HTML. PHP does the work. JavaScript only matters if you build blocks for the editor.
- Git. Commit from the first working version so you can always get back to it.
- A one-paragraph scope. For the clinic plugin: one schedule, editable by administrators, shown with
[clinic_hours]. If no schedule has been saved, the shortcode shows nothing rather than invented hours. Booking and holiday calendars stay out. - The supported versions. Write down the lowest WordPress and PHP versions you will actually test. Only list a version if you can reproduce and fix failures on it.
How to build a working plugin, step by step
- Create the folder and main file. In
wp-content/plugins, createclinic-hours/clinic-hours.php. WordPress.org expects the main file to match the folder name. - Add the header and a direct-access guard. The header is what makes WordPress list the file on the Plugins screen.
<?php
/**
 * Plugin Name:       Clinic Hours
 * Description:       One opening-hours schedule, shown anywhere with [clinic_hours].
 * Version:           1.0.0
 * Requires at least: 6.5
 * Requires PHP:      7.4
 * License:           GPLv2 or later
 * Text Domain:       clinic-hours
 */

if ( ! defined( 'ABSPATH' ) ) {
    exit;
}- Pick a prefix and use it everywhere. The handbook’s Best Practices page warns that generic global names collide with other plugins and themes. It also says wrapping functions in
function_exists()doesn’t fix this in general, because your plugin still breaks if someone else’s function loads first. Use something distinctive, such asclhr_, or a PHP namespace. - Register the shortcode on
initand return the output. Shortcode callbacks must return their output. If they echo it, the content appears in the wrong place on the page.
function clhr_render_hours() {
    $hours = get_option( 'clhr_hours', '' );
    if ( '' === $hours ) {
        return '';
    }
    return '<div class="clhr-hours">' . nl2br( esc_html( $hours ) ) . '</div>';
}

function clhr_register_shortcode() {
    add_shortcode( 'clinic_hours', 'clhr_render_hours' );
}
add_action( 'init', 'clhr_register_shortcode' );- Add a settings page through the Settings API. Put the menu on
admin_menuand the setting onadmin_init. Give the setting a sanitize callback, and make the page require a capability.manage_optionsis the usual choice for site-wide settings. If you are unsure which roles have which capability, see WordPress user roles explained.
function clhr_add_settings_page() {
    add_options_page( 'Opening hours', 'Opening hours', 'manage_options', 'clhr-hours', 'clhr_render_settings_page' );
}
add_action( 'admin_menu', 'clhr_add_settings_page' );

function clhr_register_settings() {
    register_setting( 'clhr_settings', 'clhr_hours', array(
        'type'              => 'string',
        'sanitize_callback' => 'sanitize_textarea_field',
        'default'           => '',
    ) );
}
add_action( 'admin_init', 'clhr_register_settings' );

function clhr_render_settings_page() {
    if ( ! current_user_can( 'manage_options' ) ) {
        return;
    }
    ?>
    <div class="wrap">
      <form method="post" action="options.php">
        <?php settings_fields( 'clhr_settings' ); ?>
        <label for="clhr_hours">Hours, one line per day</label>
        <textarea id="clhr_hours" name="clhr_hours" rows="7" class="large-text"><?php echo esc_textarea( get_option( 'clhr_hours', '' ) ); ?></textarea>
        <?php submit_button(); ?>
      </form>
    </div>
    <?php
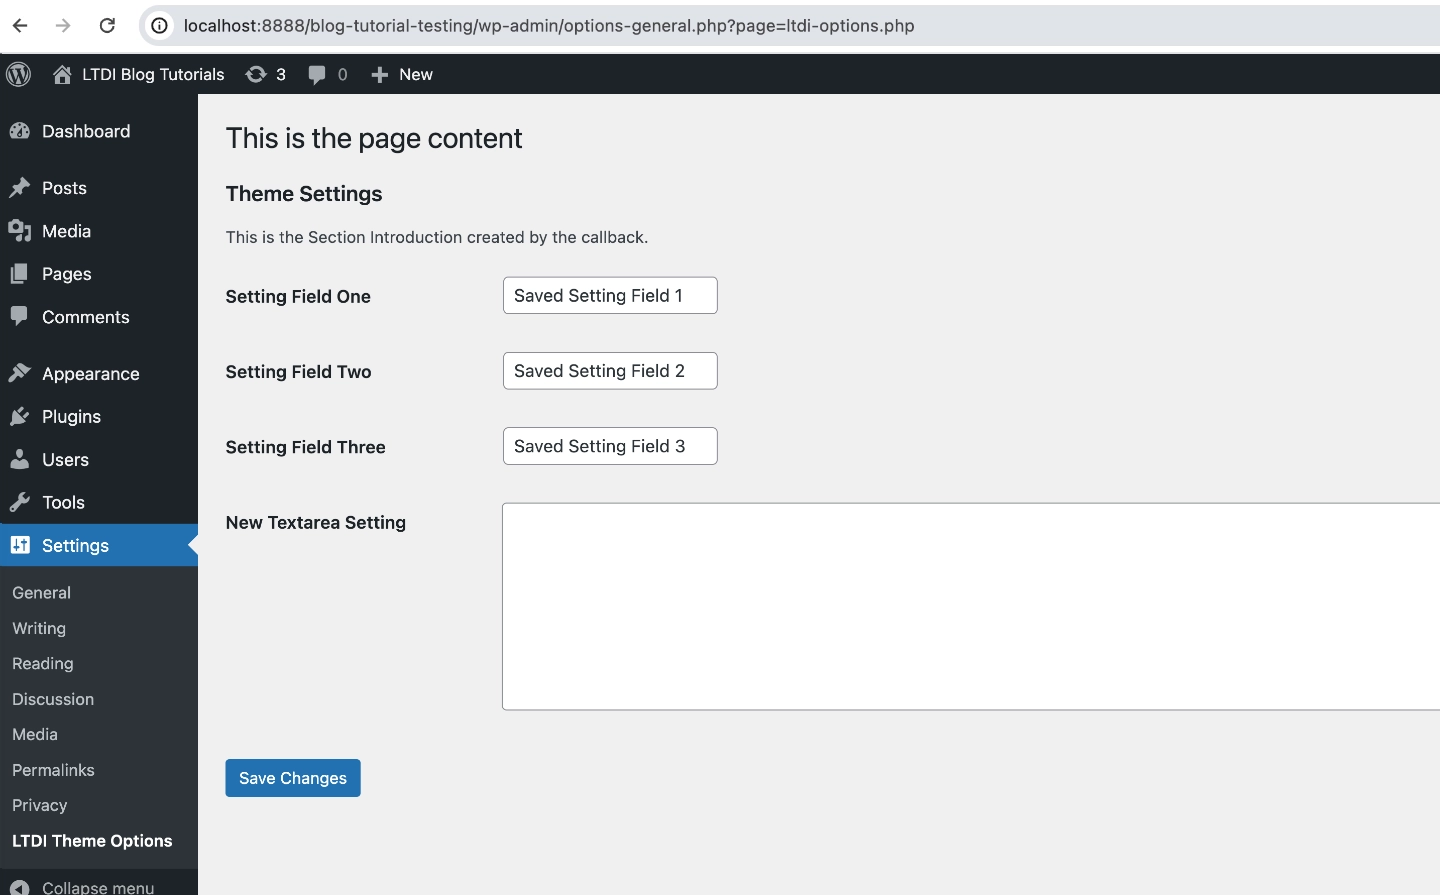
}
- Handle the lifecycle on purpose. Use
register_activation_hook()to set defaults without overwriting saved data. Put permanent cleanup inuninstall.phpand guard it withWP_UNINSTALL_PLUGIN. Deactivating a plugin should never delete anyone’s settings.
<?php
// uninstall.php
if ( ! defined( 'WP_UNINSTALL_PLUGIN' ) ) {
    exit;
}
delete_option( 'clhr_hours' );
If your plugin registers a custom post type, flush the rewrite rules from the activation and deactivation hooks, as the handbook shows. A new post type that returns 404s right after activation usually has stale rewrite rules. The activation itself did not fail.
Which security rules apply to every plugin?
The Plugin Handbook’s Common Issues page, which collects what the review team rejects most often, gives the order: sanitize input early, validate it against what is actually allowed, and escape output when you render it. These steps don’t replace each other. Data that was sanitized when saved still gets esc_html(), esc_attr() or esc_url() when it is printed.
The Settings API handled the nonce and the save for you in step 5. Once you write your own handler, on admin-post.php, AJAX or a REST route, all of these checks are your job:
- Check
current_user_can()before changing anything.is_admin()only tells you the request is for an admin screen. It doesn’t tell you the user is an administrator. - Verify a nonce with
check_admin_referer()orwp_verify_nonce(). A nonce stops forged requests but grants no permission by itself. - Give every REST route a real
permission_callback. - Use
$wpdb->prepare()whenever a query contains variables.
Test this directly. Log out, send the request yourself, and confirm nothing changed. Repeat as a logged-in Subscriber, then again with a bad nonce. Hiding the form proves nothing. If the handler returns 200 and saves anyway, the plugin is vulnerable.
How to test it before it reaches the live site
On your local or staging install, turn on logging and keep errors off the page. WordPress’s debugging handbook recommends this setup in wp-config.php:
define( 'WP_DEBUG', true );
define( 'WP_DEBUG_LOG', true );
define( 'WP_DEBUG_DISPLAY', false );
Warnings now go to wp-content/debug.log. Read the log after activating the plugin, after saving the settings and after loading a page with the shortcode, even if everything looks fine. Turn logging off afterwards. A debug log left where the public can read it can expose sensitive information.
Then work through these checks:
- Run Plugin Check. The handbook describes it as a tool for testing whether your plugin meets the directory’s required standards. It runs most of the checks used on new submissions. It reads your code but never runs it, so a clean result does not mean the plugin works.
- Lint against the WordPress Coding Standards. Fix the errors and review the warnings rather than suppressing them.
- Test on a copy of the real site. A clean install doesn’t have your theme, cache or checkout plugins. Staging does. Turn off real emails and payments on the copy first.
- Test the ZIP, not your source folder. Build it, install it on a clean site, and open the archive to make sure there are no
.envfiles or credentials in it and no built assets missing. - Test the lowest PHP version you claim to support, then record the versions you actually tested in the readme.
Extra rules for WooCommerce plugins
If your code touches orders, use WooCommerce’s CRUD methods such as wc_get_order() rather than get_post(). That way it works with High-Performance Order Storage (HPOS), WooCommerce’s dedicated order tables. WooCommerce’s HPOS recipe book covers the details. Test with HPOS turned on before you declare compatibility. A compatibility declaration you haven’t tested hides the warning a store owner would otherwise see.
What a correct result looks like
The plugin activates with nothing new in debug.log. The Opening hours page appears under Settings for administrators and is refused for Editors. If you change the hours once, every page with [clinic_hours] shows the new schedule, and pages without the shortcode don’t change. When you deactivate the plugin, the hours disappear and the rest of the layout stays intact. Deleting the plugin removes its option, and nothing else.
What to do when the plugin breaks the site
If you see a critical error or a white screen, use the Recovery Mode link WordPress emails you if one arrives. If you are locked out, rename the plugin’s folder in wp-content/plugins over SFTP or your host’s file manager. WordPress deactivates it on the next load. Then read the log. The PHP message and file path tell you far more than “there has been a critical error”.
The most common causes, roughly in the order they show up in support forums:
- A conflict with another plugin or the theme. Reproduce it on staging, or use the Health Check plugin’s troubleshooting mode, which turns off plugins and switches the theme only for your session. Then turn plugins back on one at a time and repeat the exact action that failed. Some conflicts only show up during checkout, for example. Our guide to fixing plugins that are not working walks through this.
- A version mismatch. In a 2026 wordpress.org thread, a site owner’s move from PHP 8.3 to 8.5 was blocked by
create_function(), which was deprecated in PHP 7.2 and removed in 8.0. The fix was a development release from the plugin’s author. The reverse happens too: code calls a recent core function on an older WordPress install. - Local and live are different. One developer on the wordpress.org forums wrote a payment gateway that ran fine locally and white-screened the live site. The cause was how a callback was named. This is why you test on a copy of production and not only on your laptop.
- Memory exhaustion. Before you raise
WP_MEMORY_LIMIT, find the query or loop that is using the memory. A higher limit hides the fault without fixing it.
Stop and get help if the failure only happens on the live store, if it involves payments or orders, or if you can’t reproduce it on staging. Then the question is no longer about code. It is about protecting revenue while you work. If you would rather describe the feature and have it built and checked on your existing site, that is the work SiteSelf’s custom development covers. It needs hosting (SSH) access for code changes.